Wednesday, October 01, 2014

Fall Themed (October) Card Kit

Video of the A2 Stretch Card by Lori Whitlock:


and her Silhouette Studio DE cutfile found HERE (she has two styles in stock) I created the above card for October's Card kit.


Supplies used:


Other supplies used:
  • Acorns clipart from Autumn Scrapbook kit free download
  • Bic Mark-It colored markers for coloring the squirrel and a Wink of Stella glitter pens used on tail of squirrel and the scarf.
Thank you for stopping by to visit with me; and please stop on over to Scrapbook Blessings Club for more inspiration by the DT members.  Happy crafting to all.

Saturday, September 27, 2014

A Halloween Treat Box


Supplies used:
  • Scarecrow Digital Stamp Image
  • Treat Box from SilhouetteAmerica Online Store
  • Bic Markers for coloring
  • gems from my stash
  • spider web embossing folder used to embossed the mat on tombstone front
  • Trick or Treat sentiment from SilhouetteAmerica Online Store
  • Score tape for adhesive tape
Thank you for stopping by to visit with us; and check out my blog at Granny Ma's Creative Blog

Challenges I would like to enter:

Monday, September 22, 2014

Creative Cutting Challenge - Fall Theme

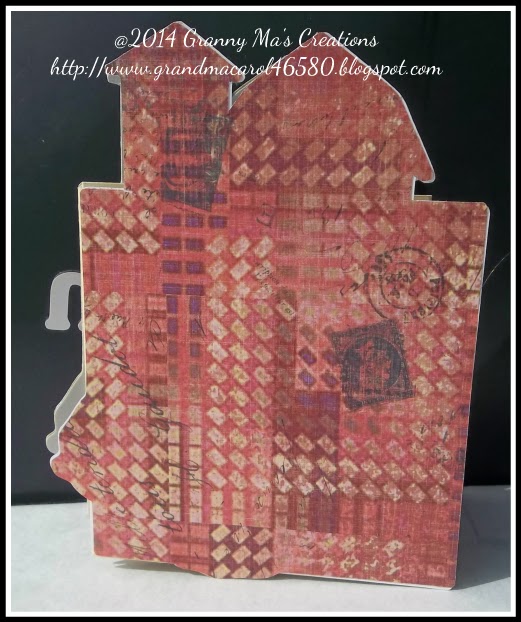
I used The Creative Pointe cutting file: Pumpkin Patch and created a accordion style mini-album card, cutting the shape of the background barn for front and back covers.  And inside as square pages.  Here is photos of the accordion style mini-album/card...

  Pumpkin Patch cutting file
Front Cover
Using the Pumpkin Patch cutting file I used the back shadow as the cover base for both front and back cover cut out of poster board for stability.  I had a Thanksgiving napkin I purchased at Wal-mart that I had separated (2-ply) and ironed the top piece onto freezer paper, creating my own design paper.  Placed on a cutting mat, and using my Silhouette Cameo and the just the pumpkins  with the bard, I cut out very, very carefully (even though it's on freezer paper, the napkin tended to be   distressed on edges).  I adhered the napkin piece to the first layer that I had covered the poster board with.  Than, in my files I had a red-barn scrapbook page that I printed out using my Silhouette Studio DE software and cut out the title, Pumpkin Patch and layered on covered poster board again.

Inside pages

Using two cut files from misskatecuttables I printed and cut out as a sticker, placed them on poster board that was cut out using the shape of the png photo.  Both page 1 and the last page (4) the pumpkins from the Pumpkin Patch cutting file was cut out on poster board and than one I used some chalk from Daler Rowney Soft Pastels and colored in; the fourth page I used a marker set from one of my marker sets (don't remember which set it came from).  Once I have a little time, I will add a photo of my great-granddaughter, dress as BatGirl on one of the pages.

Here is the back cover....


Back cover

I covered the back poster board cover with paper I purchased from Hobby Lobby and this completes this project.  Now onto another part of my DT projects for Creative Cutting Challenges.. 

I have been playing around with digital scrapbooking lately along with Easy Pocket Scrapbooking .

Easy Pocket Page Scrapbook (digital)
Back to School Apple Title from misskatecuttables (I believe)

I used Adobe Photoshop Elements 12 for creating both scrapbook layouts; and have a file from MyMemories Suite and from Pixel Scrapper Digital Scrapbooking that are clear plastic pockets for easy pocket scrapbooking, in place of the actual pockets.  I placed the photos, elements and journal cards in my layout just like a actual plastic pocket layout, only digital.  Love it. 

I do have a School House Mini-album that I am creating, using the School House Cut File and will share that later.  Thank you for coming by to visit with me, and please head on over to Creative Cutting Challenges  for more inspiration.

Sunday, September 21, 2014

Sarah


Supplies used:
  • Software used:  Adobe Photoshop Elements 12
  • Silhouette Studio Design Edition
  • Bic Markers and Copic marker for skin coloring
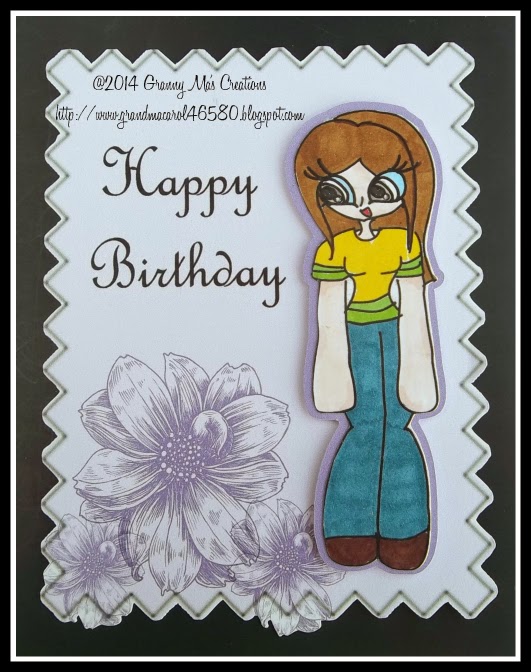
Using Adobe Photoshop Elements brushes, I created the background on the mat using Vintage Rose brush.  Once finished, I open/merged into  Silhouette Studio DE to print and cut image.  Colored the image with Bic Markers and for the skin color, used Copic marker.  Placed on the mat with foam tape and ready for a card base when I am ready to send a birthday card.

Thank you for stopping by to visit with me; and check out A Girl Who Plays for the DT's work, and look thru what is offered in the digi store.  Happy crafting to all.

I would like to enter into these challenges:

Flap Fold Card Challenge - Scrapbook Blessings Club

Video to share of how to create the Flap Fold Card


And here is the video I shared on the original blog:


 I was able to locate my photos of  project on my account at photobucket.com as the external hard drive crashed back in late June, early July....


https://blogger.googleusercontent.com/img/b/R29vZ2xl/AVvXsEh4FhxKsaBxbIL6ndIjHXWzfbL4eaQXWbGxPgOas2PIhjLrjePWz-OdfodvWPgpolMXNDMbX-ouz6l9Ep5ZgTQFfrV9aLELcXqvqEivM3hWHWx0V56El_t4e4gE635BEhblXWHCrQ/s1600/100_3819.jpeg 

Now onto the details:

Supplies used:
  • For the card base, I used Stampin! Up card stock.
  • Card #1 I used design paper from my stash of Walmart paper
  • Card #2 I used card and the flower element from the June Card Kit from Scrapbook Blessings Club Facebook group
  • Bumble Bee and pop-up flower embellishment from Reflections purchased at Hobby Lobby
  • The card stock on front and inside of Card #2 from June Card Kit
  • Polka dot embossing folder used on first card
  • Floral embossing folder on 2nd card.
  • Adhesive and foam tape
 Thank you for stopping by, and as always, have a super crafting day.